Overview
The traditional way to manage AWS keys would be to store them plain text in configuration files. Each key gets an entry in the AWS config file. This needs to be repeated and maintained when you move between different computers, and if you have CI/CD and production environments setting up and maintaining these keys become tiresome. Add some team members into the mix and suddenly its a nightmare. With PKHub you can manage your AWS keys as environments, and switch between them with ease. Environments are simple text files that contain variable entries. When you switch to a specific PKHub configured environment, the application e.g a bash session, is created with the variables set as OS environment variables. The OS environment variables are only readable to the session its invoked with, and disappears when you session is closed. Allowing you to move between different computers without leaving files with hardcoded sensitive data around. It also enables you to quickly update and roll out new keys without needing to update multiple files.Requirements
We assume you have:Use case
We are going to walk you though an example where we use (fictitious) account AWS API Keys for dev and prod, and some client AWS API keys. Four in total. You might have less or even more, but this use-case should be enough to show you how to manage even more keys with PKHub Environments.We'll use:
| Description | AWS_ACCESS_KEY_ID | AWS_SECRET_ACCESS_KEY |
|---|---|---|
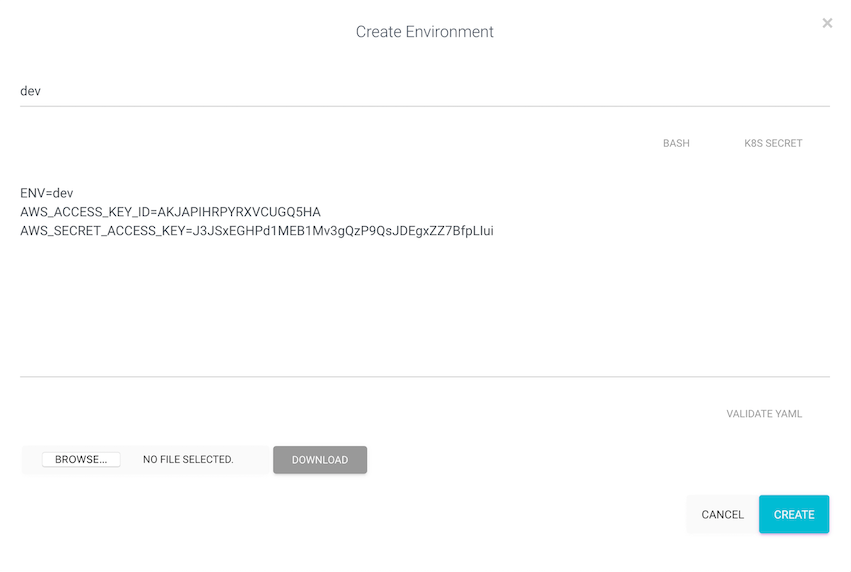
| Account 1: Dev API Keys | AKJAPIHRPYRXVCUGQ5HA | J3JSxEGHPd1MEB1Mv3gQzP9QsJDEgxZZ7BfpLIui |
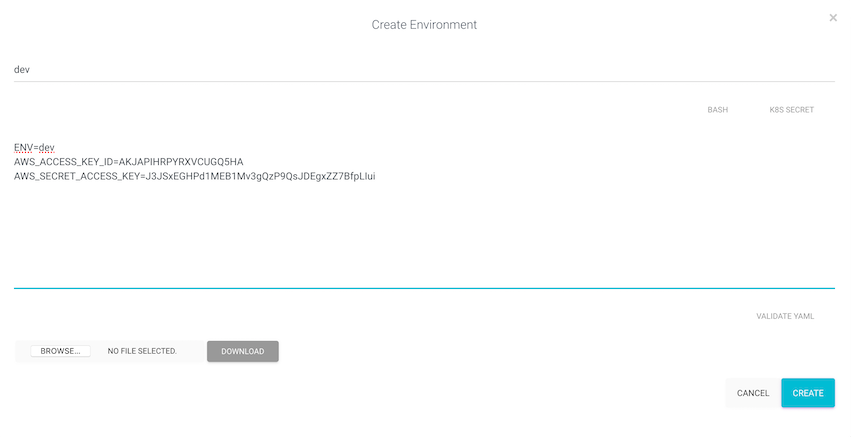
| Account 1: Prod API Keys | ZKQZXIHR9YRAVCTGQ4OB | J3JSxEGHPd1MEB1Mv3gQzP9QsJDEgxZZ7BfpLIuP |
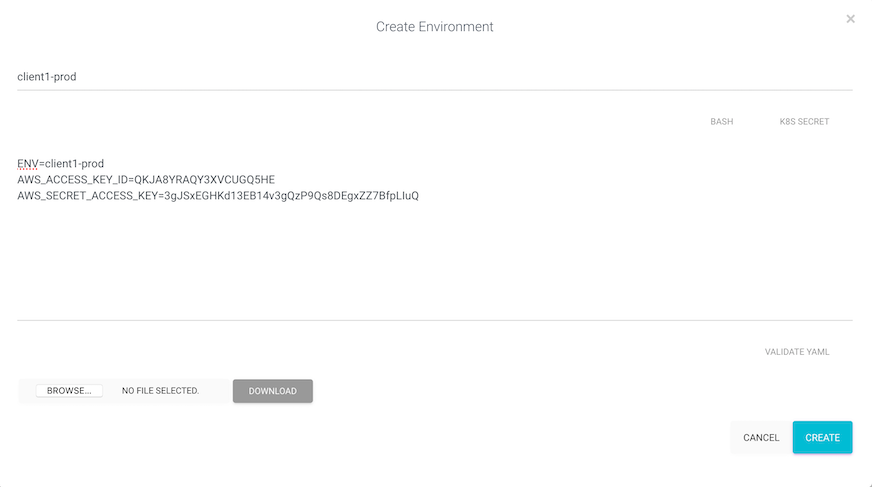
| Account 2: Client 1 API Keys | QKJA8YRAQY3XVCUGQ5HE | 3gJSxEGHKd13EB14v3gQzP9Qs8DEgxZZ7BfpLIuQ |
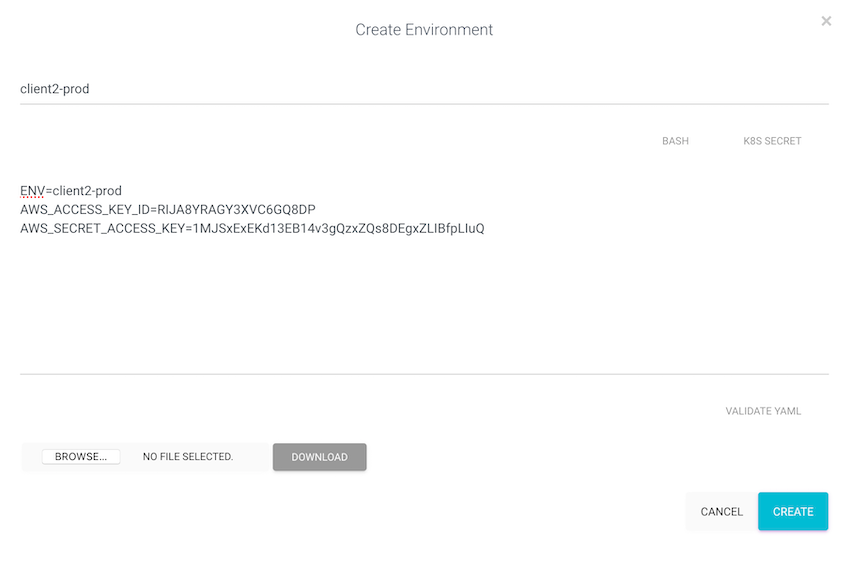
| Account 3: Client 2 API Keys | RIJA8YRAGY3XVC6GQ8DP | 1MJSxExEKd13EB14v3gQzxZQs8DEgxZLIBfpLIuQ |
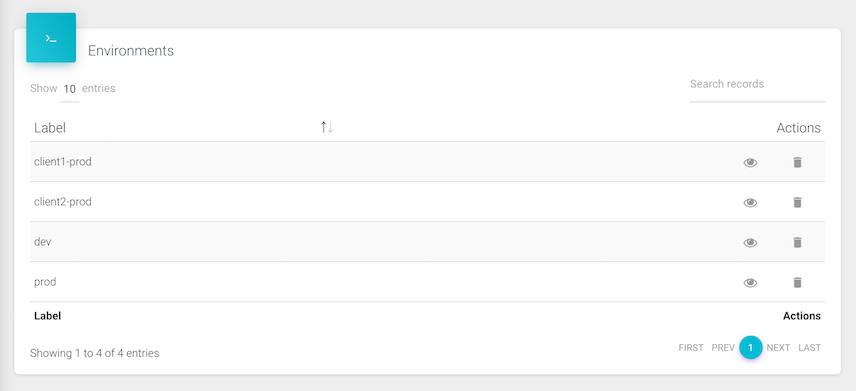
Step 1: Create the environments
-
Environment: "dev":
-
Environment: "prod":
-
Environment: "client1-prod":
-
Environment: "client2-prod":
Step 2: Test out each environment
You can now access each environment using the PK CLI. The "pk sh" command runs any process, with its OS environment combined from the "current OS environment" plus the environment variables from the PKHub environments specified with the "-n" parameter. The processes can be normal applications or an interactive shell like bash.Important: for interactive processes like bash always use the "-i" flag
Examples:
pk sh -i -s myorg -n dev -- bash

pk sh -i -s myorg -n prod -- bash

pk sh -i -s myorg -n client1-prod -- bash

pk sh -i -s myorg -n client2-prod -- bash
Step 3: Setup bash aliases
Using bash aliases help safe typing those extra keys.Copy, edit and paste the ones below into your "~/.bashrc" or "~/.zshrc" files. Now you just have to type the alias name:
e.g "dev-env"
alias dev-env='pk sh -i -s myorg -n dev -- bash'

alias prod-env='pk sh -i -s myorg -n prod -- bash'

alias client1-env='pk sh -i -s myorg -n client1-prod -- bash'

alias client2-env='pk sh -i -s myorg -n client2-prod -- bash'
Summary
In this use-case we have shown how easy it is to setup multiple environments for different AWS accounts, and how you can switch between them with interactive shell sessions. From these sessions you can run the aws cli tool and it will pickup the right account AWS_* access keys.The environments created here are not limited to only AWS and can contain any number of environment variables that are both custom defined or used to configure other tools. You can use these environments to launch docker-compose, docker-images and configure your own applications. PKHub Environments are secure and encrypted at rest and during transport. We use HTTP2 with TLS to transfer each environment from our server instances directly to the pk cli. HTTP2 mandates direct end to end encryption, which means that there are no intermediate Load Balancers or Proxies that decrypt your environments.